
How to Program Message into LED Display Message Board With PowerLED
- Fievel Yap
- Sep 17, 2021
- 2 min read

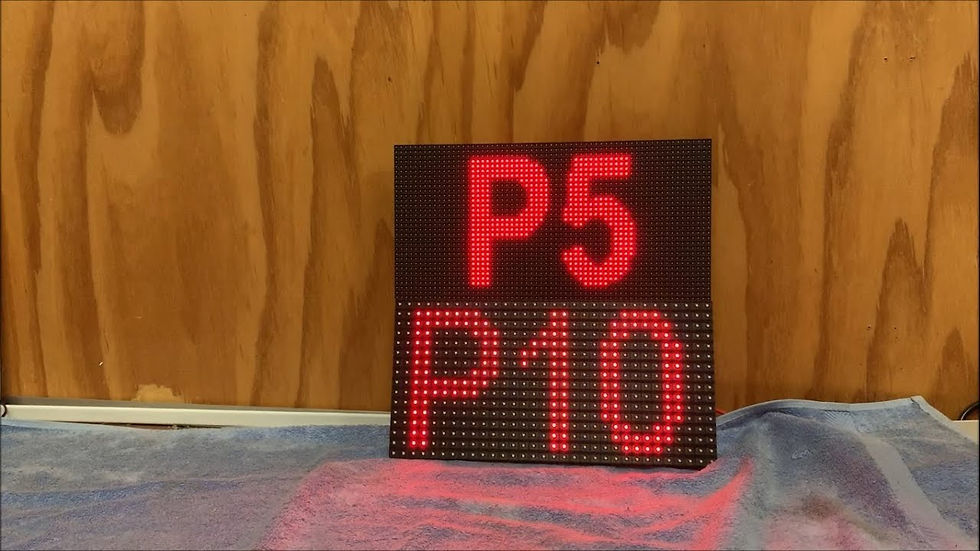
LED message display board is widely used in most time and it is used to deliver message to the public. Be it as a menu in the F&B industry, a promotion message, message about on-going school activities, any message you can think of for any occasion, can be programmed into the LED message display board. That is why it is named as a message display board.
How To Program Your Message To LED Message Display Board?
When people hear or sees the word “program”, it feels burdensome as “programming” sounds technical, that requires some IT programming skill, with special software and is difficult.
Yup, you need the skill, but not IT skill.
You need the software, but this is a non-complicated software.
You just need to have some basic skills on Microsoft Word that relates to the software.
The programming software you need will be the “PowerLED” software. You may get this software in HERE. Once you have installed the program into your computer, you may open the program file “XXX.ledprj”.
The program toolbar for the message board is similar to Microsoft Word. You will have the font type, font size, font width, font height, font speed, etc. The big black box at the bottom that is similar to a display panel, beside the toolbar is the message box, the place where you enter your message to the display panel.
To Use The Software
How to program the text into the LED Display message board using PowerLED | LED Display Malaysia
Plug in your thumb drive to your computer.
Select your desired font type and size from the bottom left side toolbar.
Enter in your desired message.
Message you entered will be shown at the top as sample.
Once you have entered your desired message, select the speed of the text moving around in the LED message display board (the smaller the number, the faster the message speed goes).
Select the EXP button located at the top toolbar and search for your thumb drive.
Select your thumb drive and you need to check the box “Include panel parameters”. Password is 168.
Click “Save” and wait for the message “Save Project Succeed”.
Click “Close”.
Unplug your thumb drive and plug in your thumb drive to the USB extension cable from the LED message display board.
Once plugged in, the LED message display board will show “OK”. Your program has been installed in to the LED message display board.
Unplug your thumb drive.
If you need more information, please do not hesitate to contact us at our website.
Have a pleasant day ahead.

This is such a helpful breakdown—many people get intimidated by the word “programming,” but with user-friendly software like PowerLED, it really comes down to basic formatting skills similar to using Microsoft Word. It’s empowering for small businesses or event organizers who want control over their LED messaging without needing IT support. When testing your LED message display, especially for brightness, clarity, or dead pixels, using a blank black screen tool like Blackscreen onl is incredibly useful. It provides a Full-Screen Charcoal View that helps with display testing, reducing eye strain, and even energy saving—a simple but powerful companion for display setup and maintenance.